HOME BARISTA TIPS - Plunger Coffee
Posted by Andy on 16th Dec 2024
HOW TO GET THE MOST OUT OF YOUR PLUNGER COFFEE
Let’s talk about the plunger! Also known as a French press or Cafetière, the
plunger is still one of the most common brew methods for coffee, and it has the potential to brew a really stellar drop! Its design is
simple - Coffee and water sit inside the glass cylindrical vessel, and a metal mesh
filter attached by a rod to the lid is pressed down, separating the brewed
coffee from the grinds.
Plunger coffee is fun, it’s a great way to cater for the coffee needs of up to
4 people. Easy to use and has repeatable results. It’s delicious for both a
black and milk coffee, and the brew recipe can be tweaked to suit both lighter and darker roasts. With a bit of research and testing in the Villino Lab (and many, MANY cups of coffee later), we've arrived at a plunger method that should provide consistency for you brew. Not to mention, it's delicious.
Let’s make one.
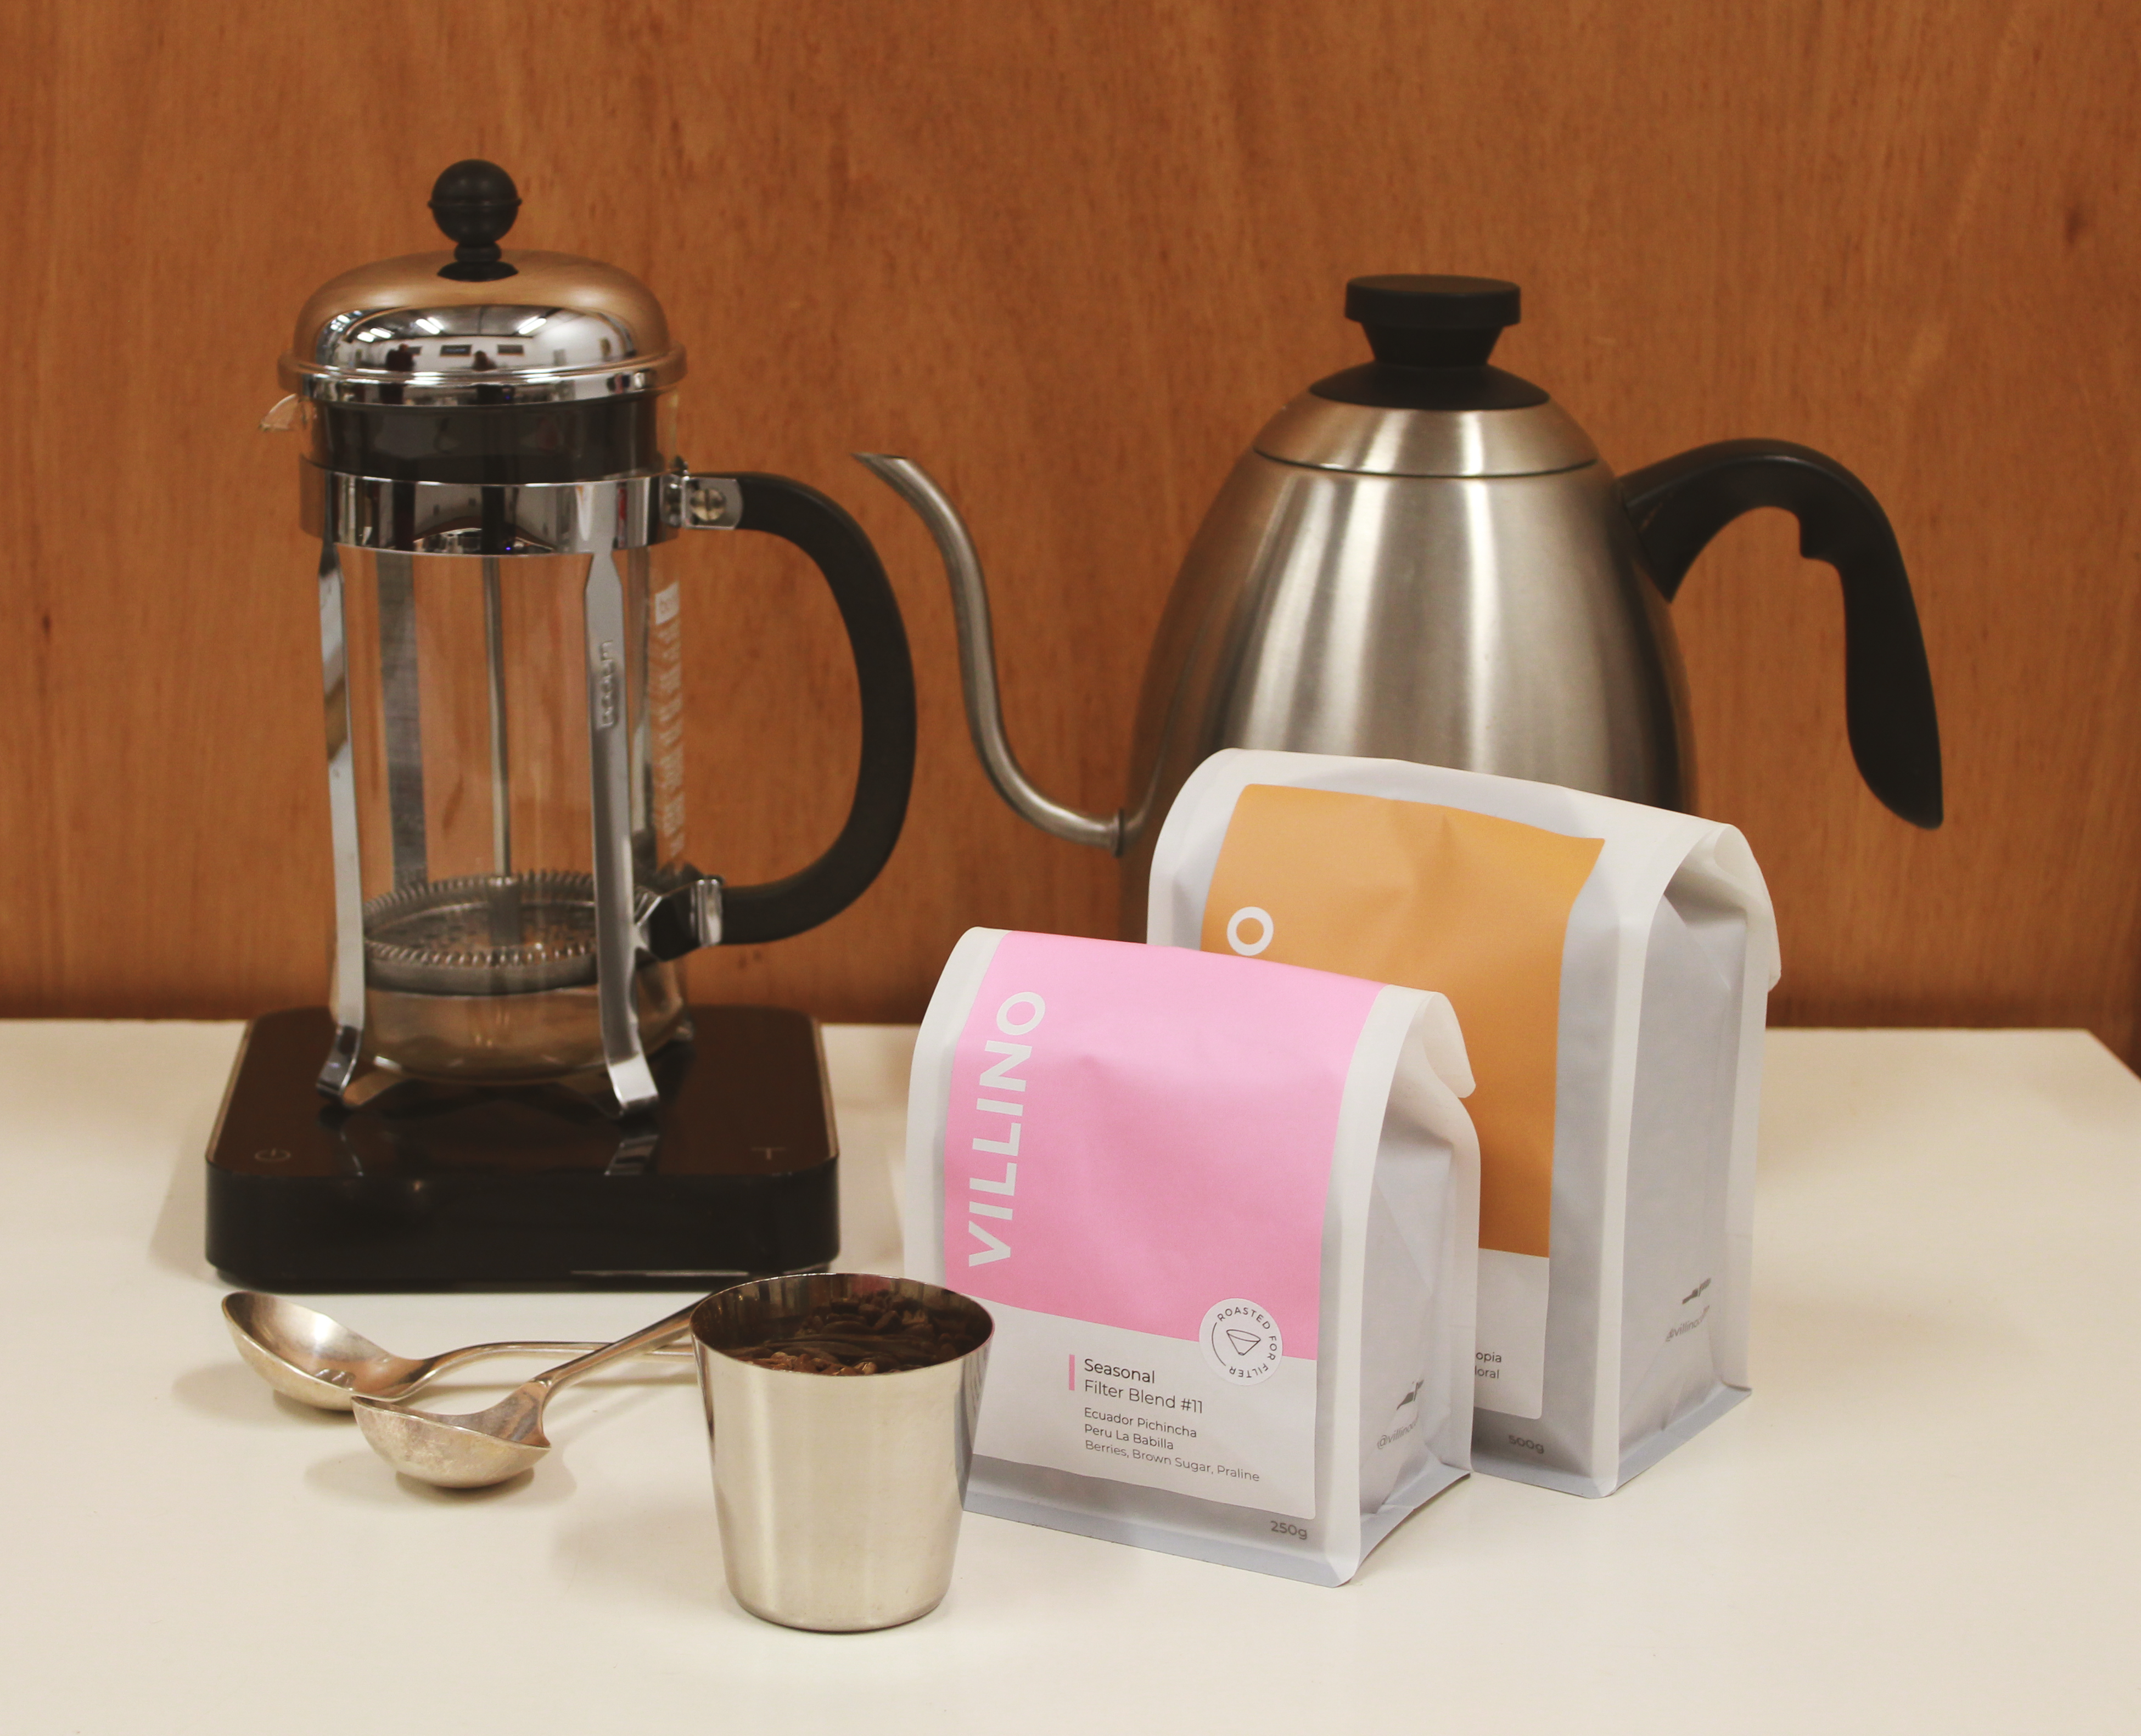
Plunger brews work with both Espresso and Filter roasts, it all depends on your flavour preferences!
You Will Need:
Coffee - a Plunger - a Kettle - 2 Spoons - Scales - a Timer
Brew Recipe: The coffee to water ratio we recommend working with is - 65g of coffee to 1L of water.
Plunger for one - 16g/250ml
Plunger for two - 32g/500ml
Plunger for four - 65g/1000ml
Grind: medium/coarse.
Start with a filter grind setting and move coarser or
finer as needed. The grinds should feel somewhat like coarse sand.
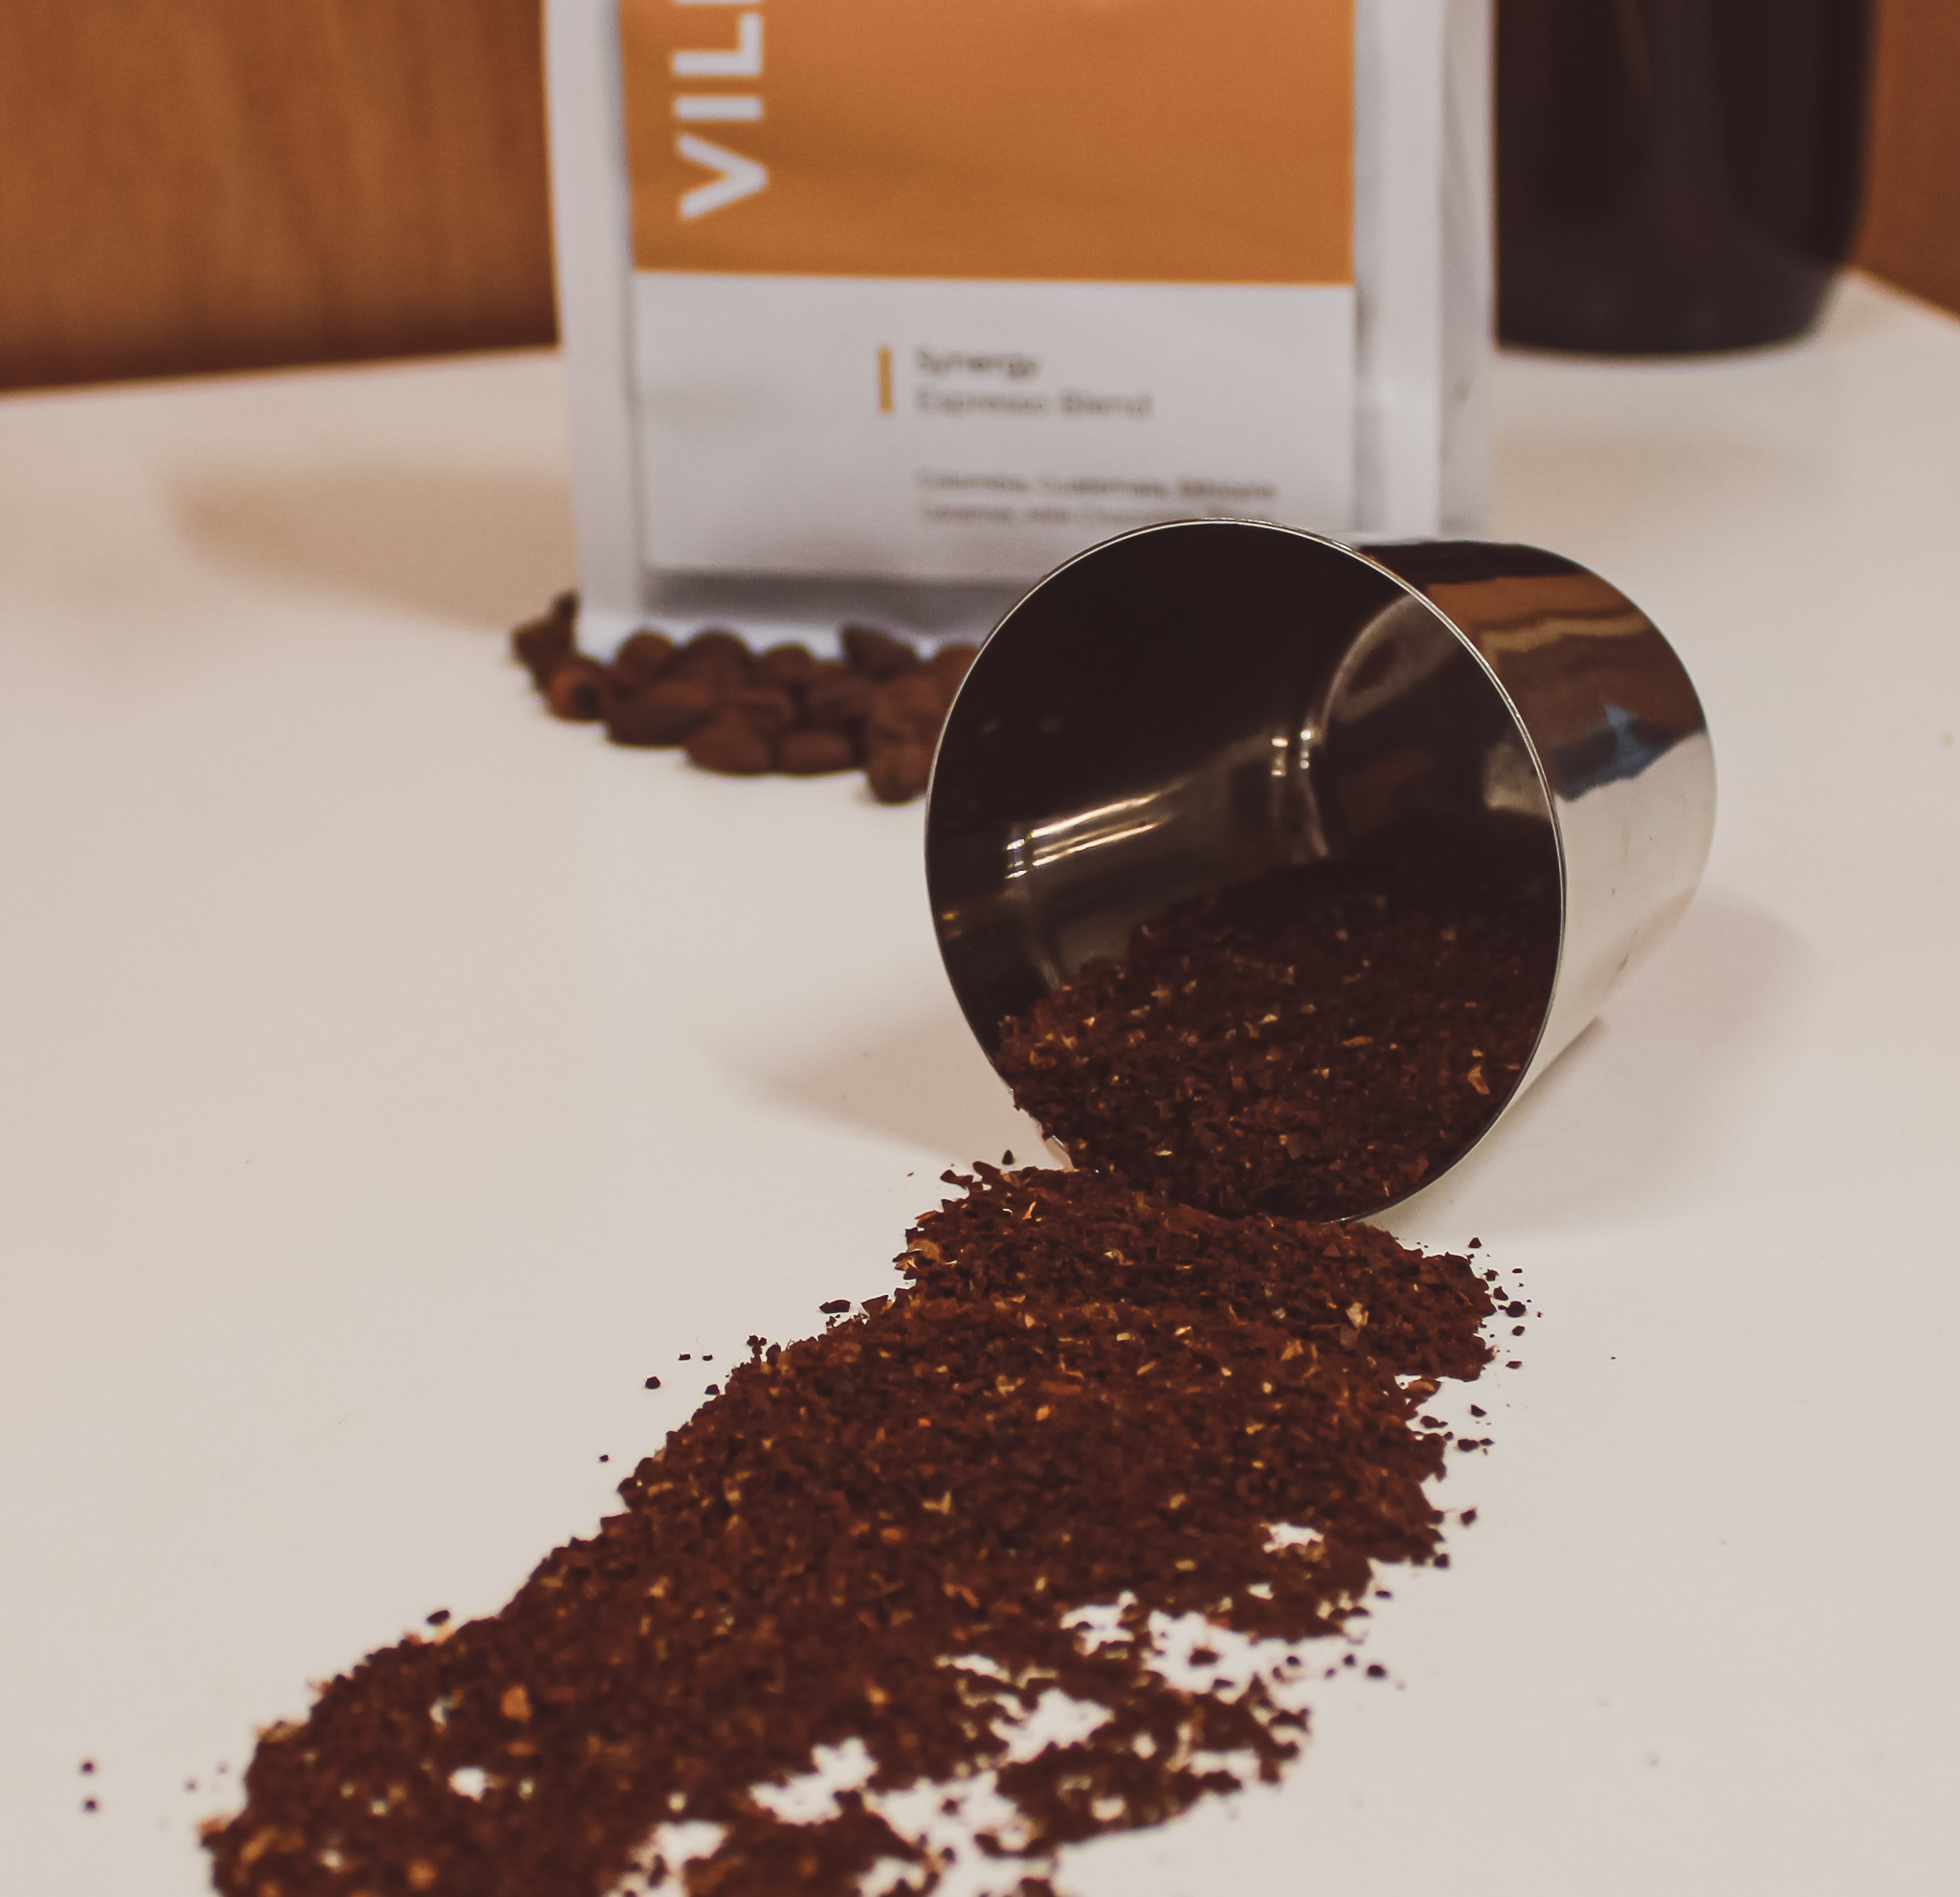
Some things to consider, if your coffee is still a bit murky or bitter, try a coarser grind. If you find your plunger coffee is tasting weak try a finer grind, or increase your coffee to water ratio.
Water temperature:
For light roast - 98-100°C
Darker roasts - <95°C - If you’re using
a standard kitchen kettle allow it to sit for 1 minute after boiling. That will get the water around the 95°C
STEP 1 - Preheat and Fill 'er up.
Pop your ground coffee into a pre heated plunger. Pour water in aiming to get all the dry
grounds wet. Sit plunger lid on top but don’t press down yet.
Wait 4 minutes.
(There are so many things you can do in these 4 minutes – Send a quick text to
your mum or do 25 laps of your island bench)
STEP 2 - Remove the Crust
Take lid off and using the back of the spoon, push the coffee crust on top back
into the water.
A coffee film will sit on top, use the two spoons to remove this from the brew.
Sit plunger lid back on top and wait another 4 minutes (start
a sudoku, clean your cereal bowl from the morning).
STEP 3 - Plunge 'er down
The coffee grounds should now be sitting on the bottom of the plunger. Plunge
down slowly, stopping 1cm before where the grinds are sitting.
STEP 4 - Pour for glory.
Right now I’m loving black plunger coffee using a light roast. Our Seasonal Filter Blend is tasting bright, sweet and clean. If you normally enjoy a plunger coffee with milk then you’ll enjoy a darker roast. Try one of our Espresso Blends here.
Happy Brewing!
Andy

