HOME BARISTA TIPS - Cold Brew
Posted by Andy on 16th Dec 2024
HOW TO MAKE COLD BREW AT HOME
Great black, with a dash of milk, or spritzed with soda - cold brew will keep in your fridge for up to a month!
At the mention of the words cold brew, some of you will be nodding your
heads with affirmation – you’re entrenched in this cold brew revolution and
will advocate it to anyone who’ll give you 2 seconds of their time. It’s a very
yummy and convenient way to drink coffee after all. Some of you would have heard about this cold coffee thing but are a little
unsure about the hype surrounding it. What is Cold brew? How do you make it?
Will I like it?
Today we’re answering those questions, and going over two different cold brewing methods. Let’s dive in.
What is Cold Brew?
Cold brew refers to a brewing method where coffee grinds are immersed in cold
water. Once the right concentration is reached, the brew is passed through a
filter removing the grinds.
Cold brew isn’t to be confused with Cold drip. You may have seen large (or
small) Cold drip towers, where water drips on top of a large bed of coffee
before dripping out into a vessel beneath. In our opinion, Cold brew tastes
better, is more consistent and doesn’t require expensive gear. Most
importantly, it’s easy to make at home.
It might sound weird to brew a coffee in cold water rather than hot, but it works! In every coffee brewing method, water acts as a solvent to coffee, releasing the soluble material and flavour out of the grinds to create a brew. The hotter the water temperature -> the more
efficient the water’s solvency -> the quicker the coffee extraction. Cold
water can still extract from the coffee, but rather using heat to
achieve this, it uses time. Our Cold brews bathe for 16 hours to reach
the right concentration. This long soak in cold water has a unique impact on how the coffee extracts and
the resulting flavours. Cold brew produces a sweeter, smoother coffee that is
less bitter/acidic than its hot water counterpart.
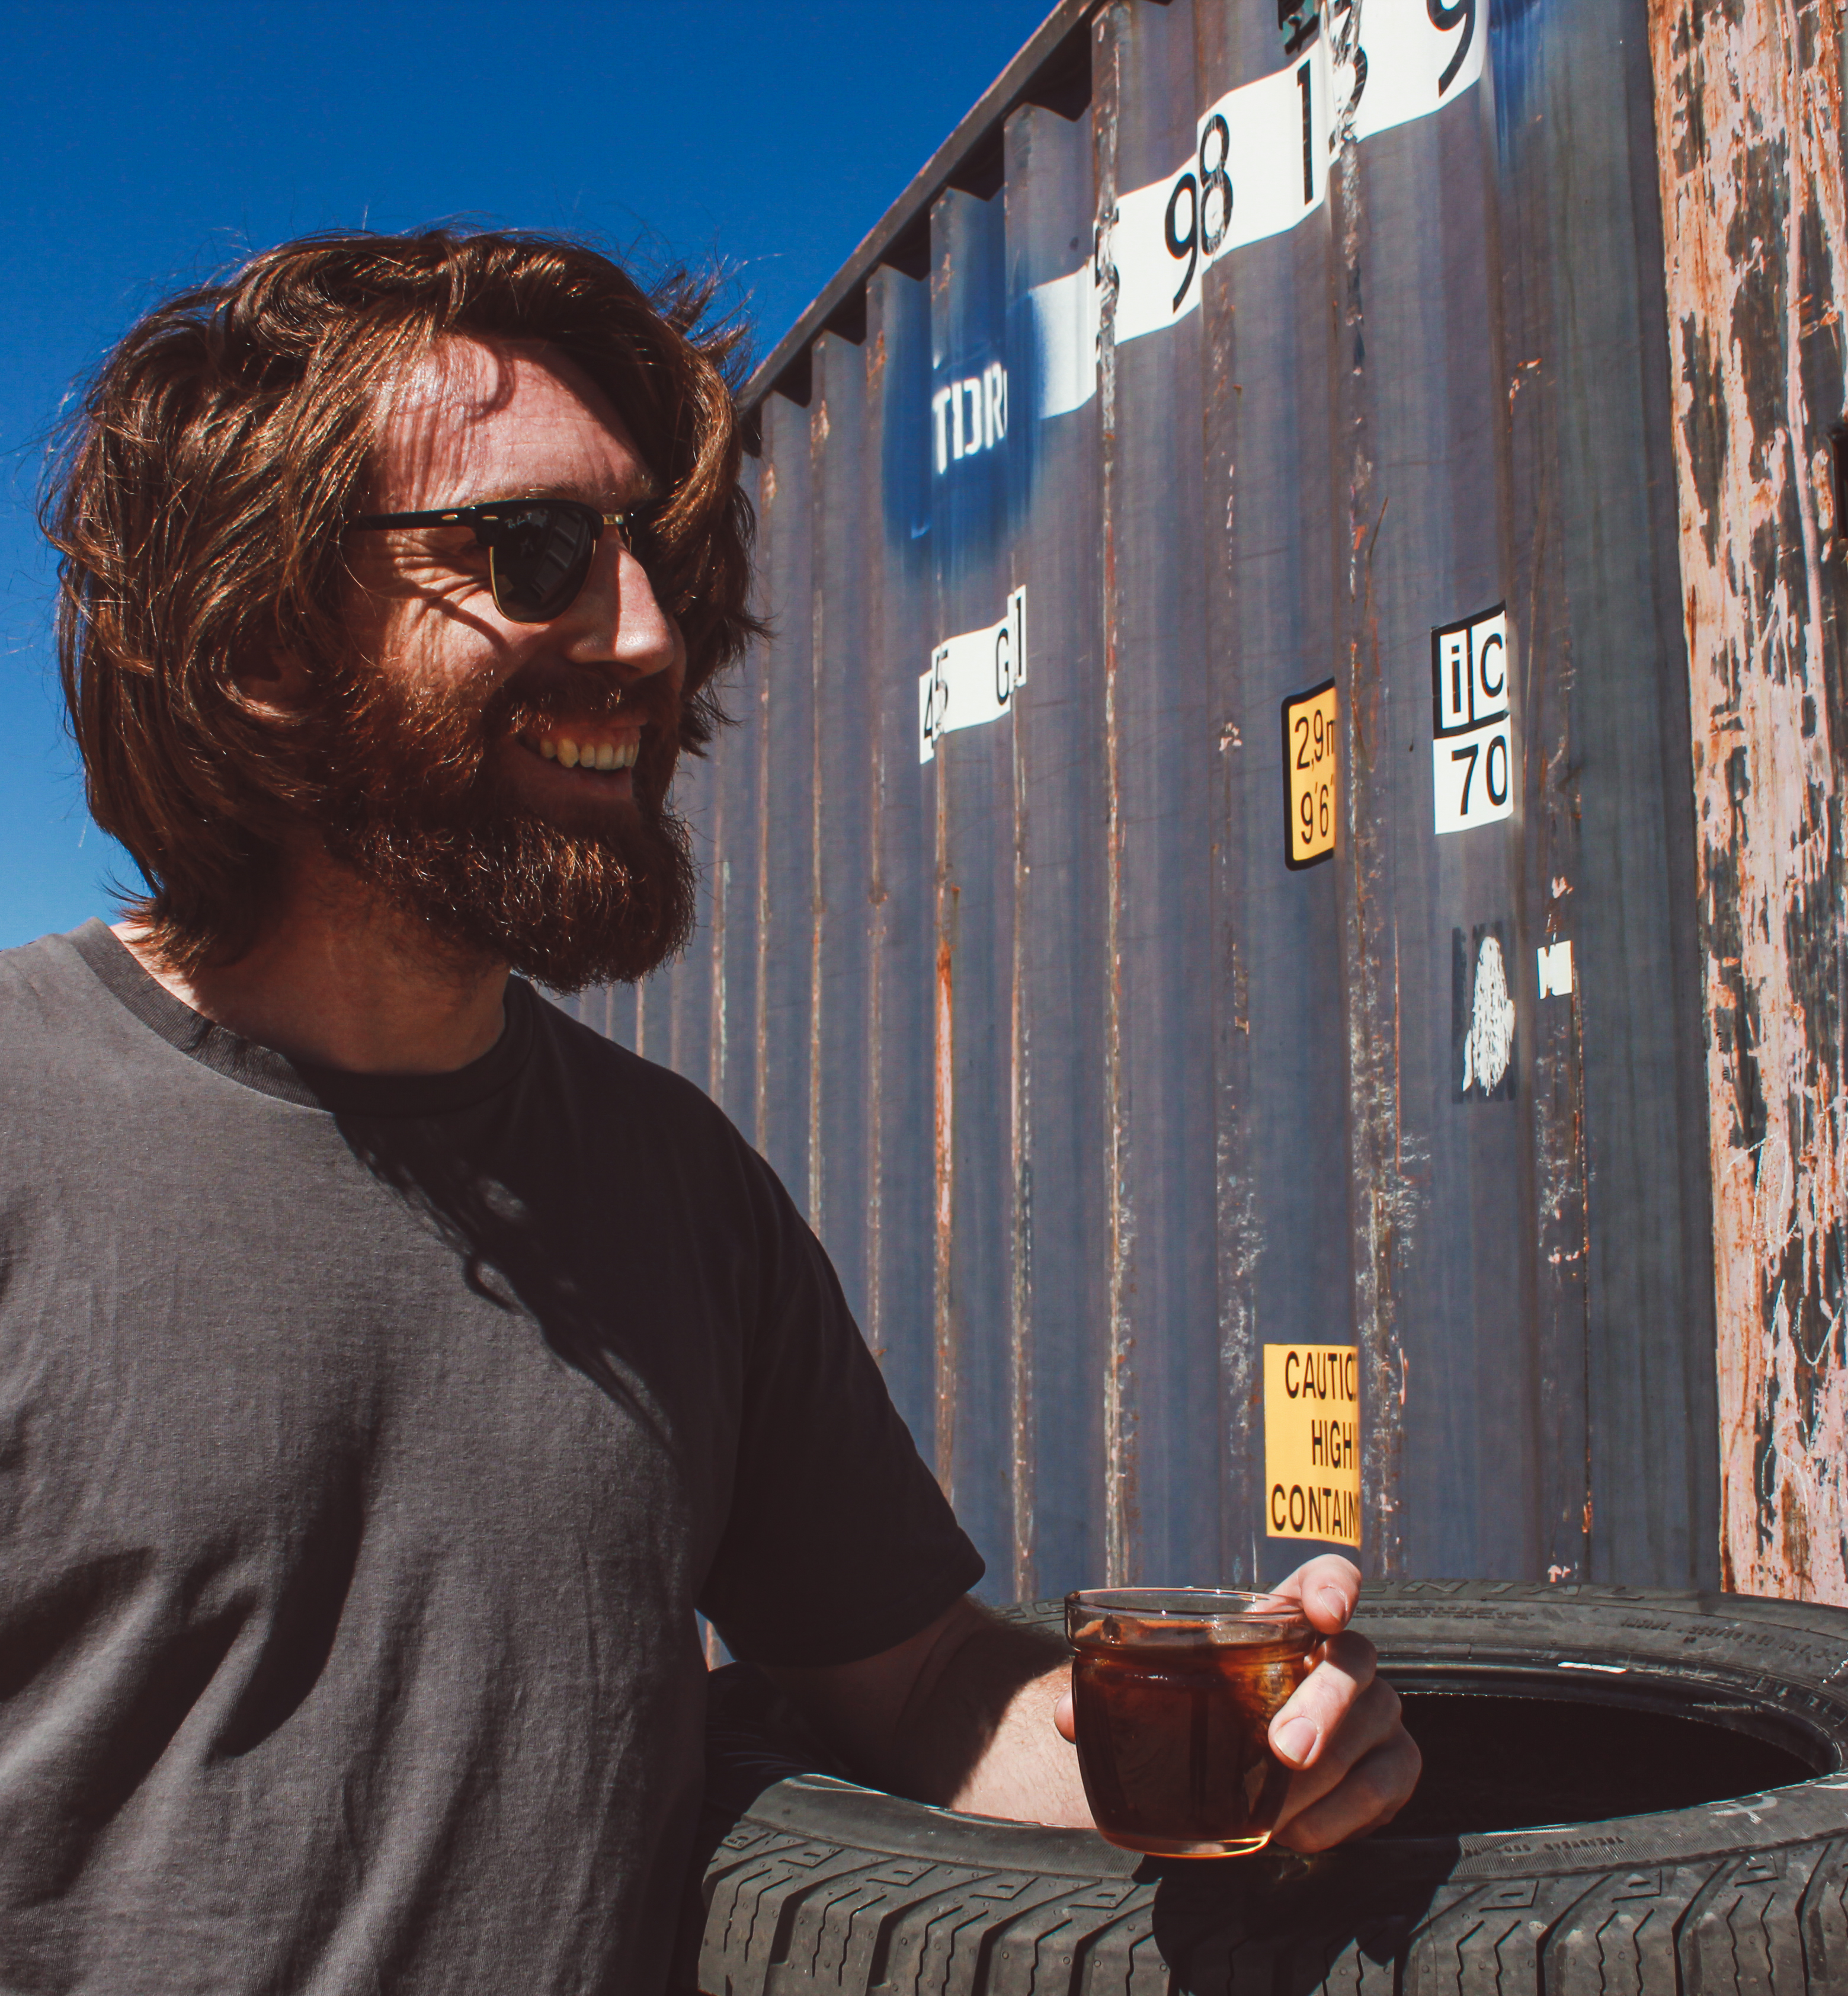
Cold Brew powering our Roast team through the summer months
How Cold/How Long?
I like to work with chilled water that is 4C and leaving my brew in
the fridge for 16 hours. Room temperature water is perfectly acceptable
also – as it’s not as cold it’ll extract a little bit quicker (try 12-14
hours).
What coffee should I use?
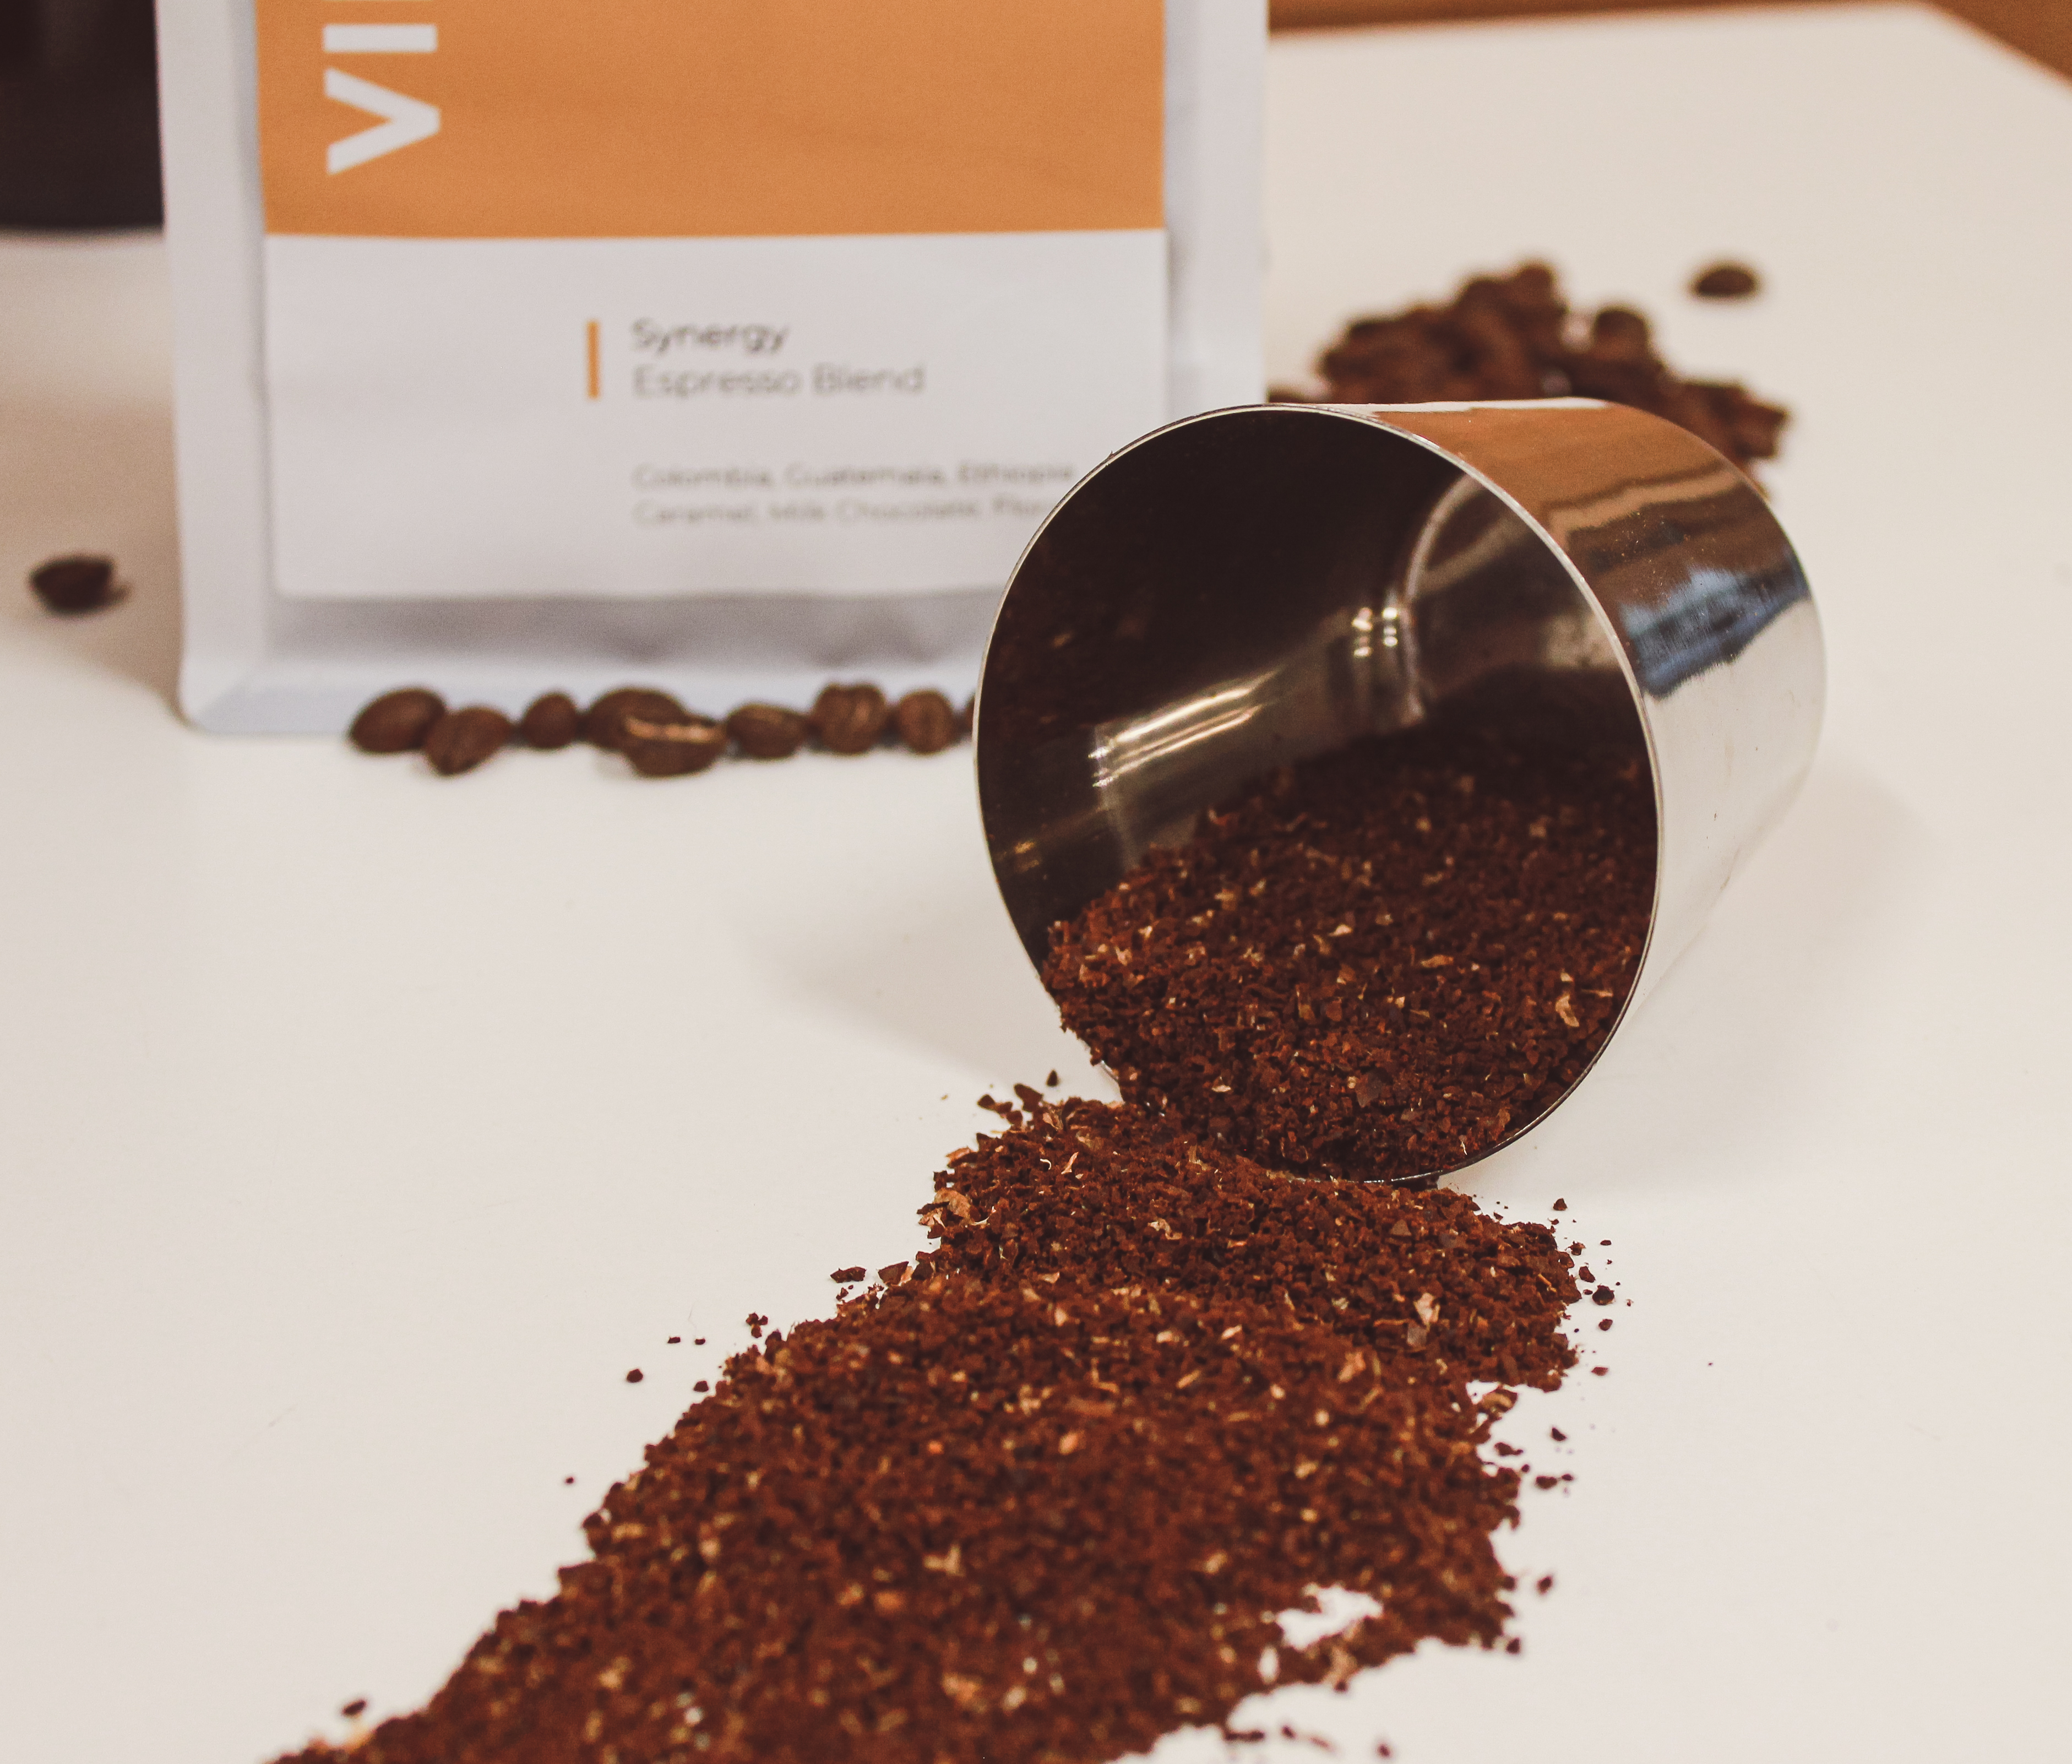
This depends a bit on your preferences. If you were adding milk to your
finished cold brew, I would recommend a coffee with a heavier roast (like our Synergy house blend). It’ll give you a coffee with a bit more body and
heftiness to cut through the milk you add to it.
If you like a black cold brew coffee then a light to medium roast is for you. I
personally love using natural processed coffees in a cold brew, it provides big
sweetness and a touch of booziness. Alternatively, you could go for a washed
coffee which will provide a cleaner brew with lingering sweetness and clarity.
What Grind setting?
Coarse, a little coarser than Plunger. Like coarse sand. If you’re using a
home grinder, go as coarse as you can. One of the risks with cold brew is
grinding too fine. Because we’re going to let this brew for up to 16 hours, if the
grind is too fine there is a risk of overextraction and the brew becoming
bitter, heavy, and dry.
Coarse grinds reduce the risk of over-extraction
What brew ratio should I use?
This depends a bit on your coffee strength preference.
For a Concentrate 1:4 (Coffee: Water) is a great starting point e.g.,
100g Coffee to 400g Water. This is ideal for if you like coffee with milk or
you want to add sparkling water later. Having a concentrate will also take up
less space in your fridge.
For a Ready to Serve cold brew 1:10 is a great starting point. E.g., 40g
Coffee to 400g Water.
COLD BREW METHODS FOR HOME
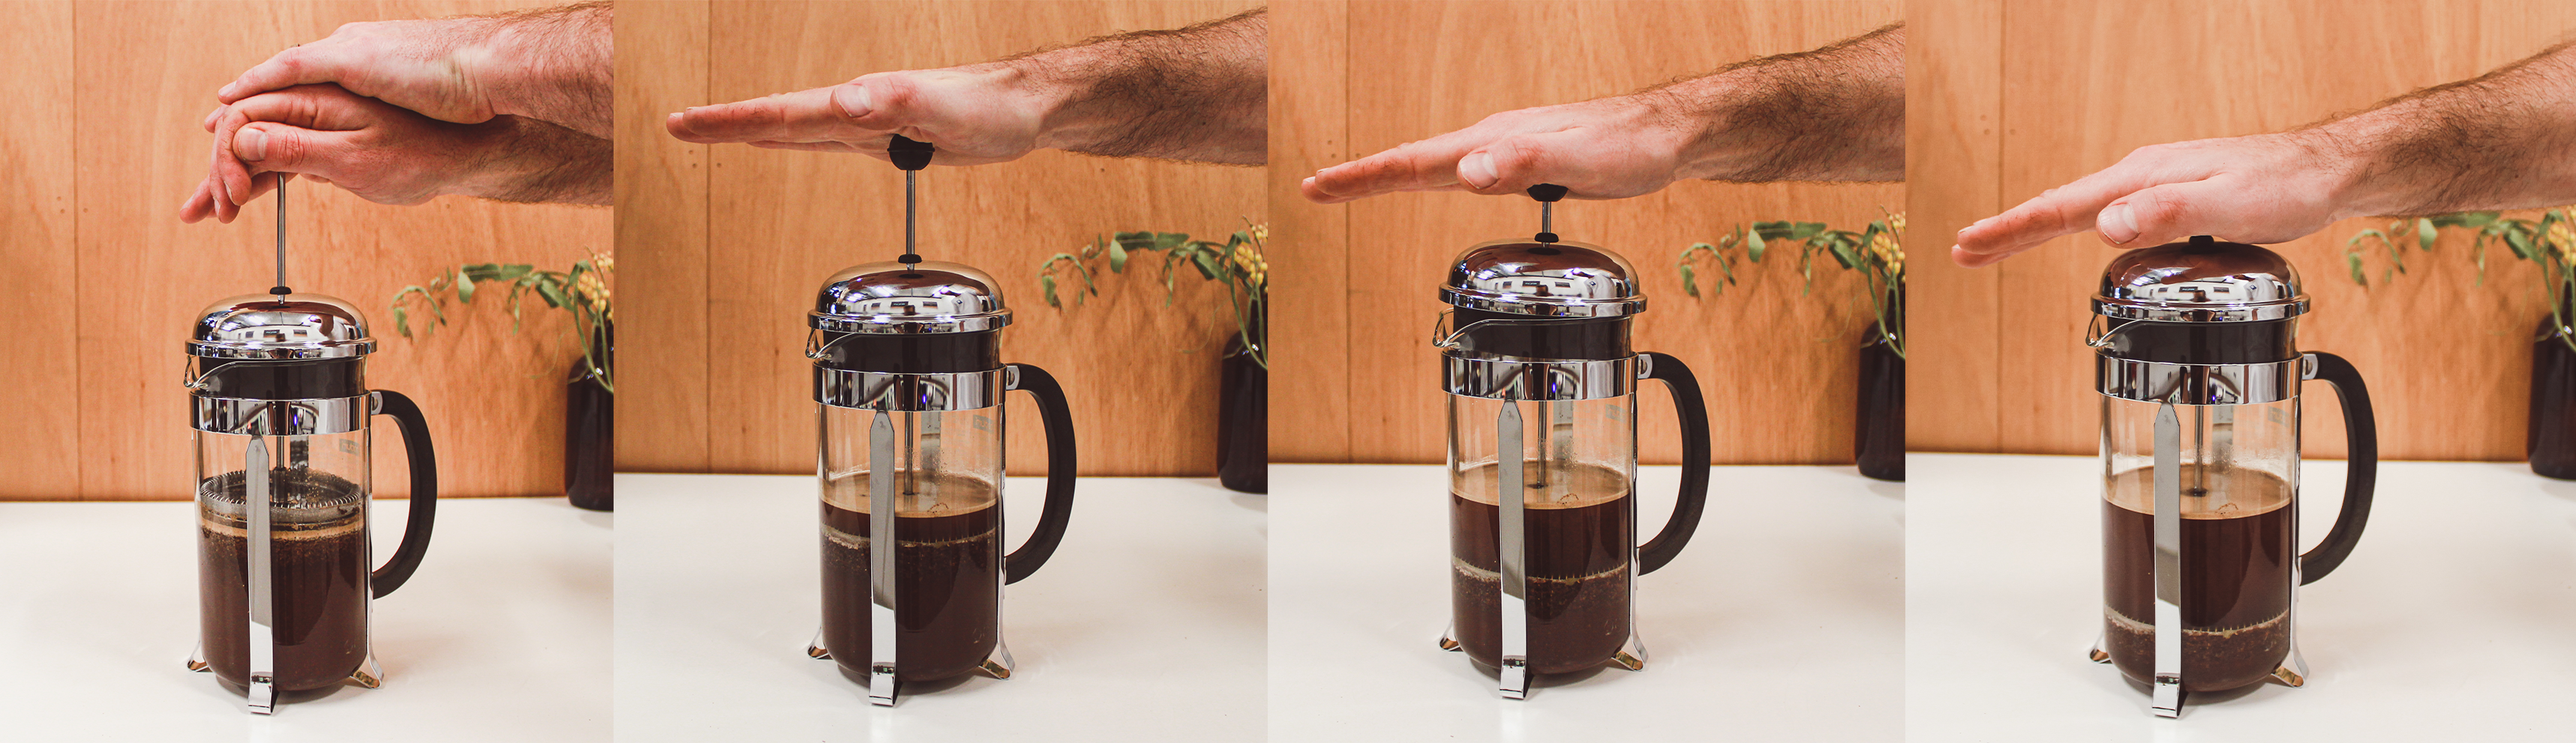
Plunger
The humble plunger is an easy way to make cold brew at home. I’ll be using a 4-cup plunger, but any size is fine.
1. Using my Ready to Serve ratio above, I’ll use 50g Coffee and pour 500g cold
water on top and give a little stir.
2. Sit the plunger lid on top (no pressing down just yet) and place it in the
fridge.
3. - Wait 16 hours -
(Run an ultramarathon, or start the brew before you go to bed)
4. Plunge coffee.
Cool Tip: Pass it through a v60 paper filter for a cleaner cup!
5. Bottle it up. Yum yum!
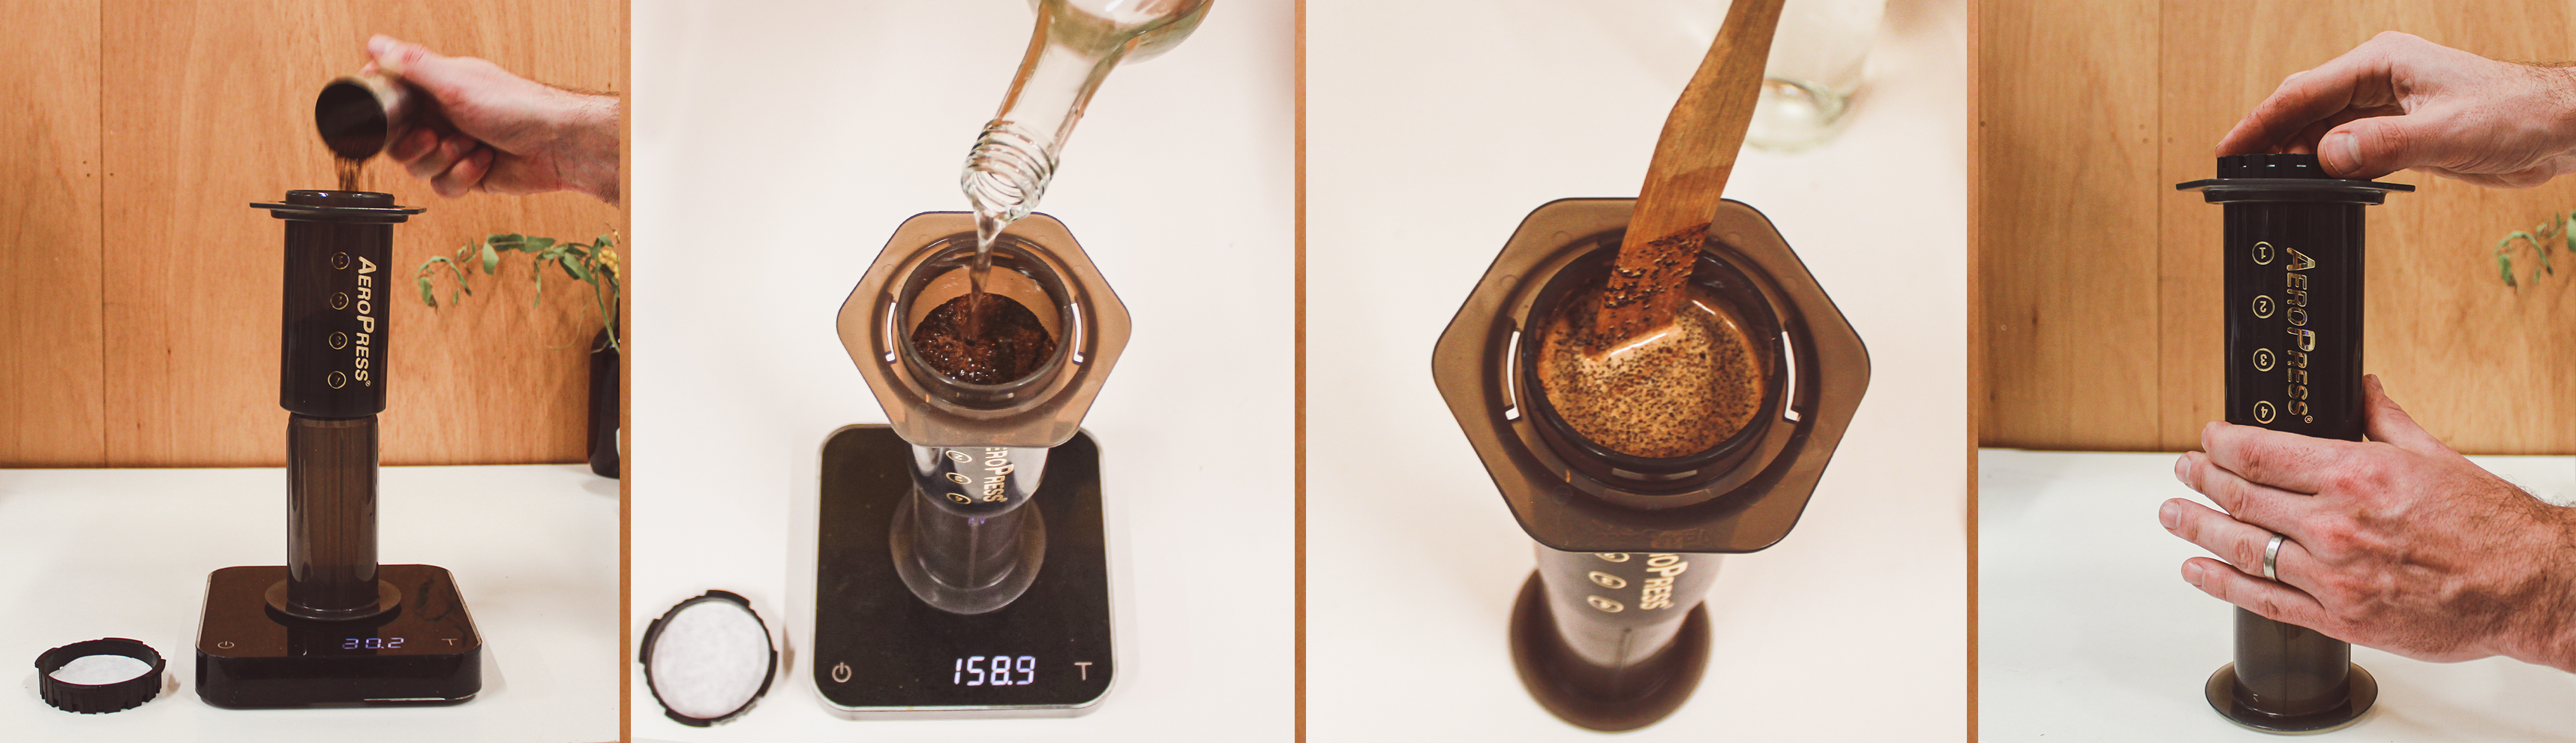
Aeropress
For the AeroPress method we’ll be using the invert method.
1. Using the Concentrate ratio above, I’ll use 50g Coffee to 200g cold water. Place coffee into the inverted AeroPress, add water and stir a couple of times.
2. Screw cap with paper filter on top and place in fridge for 12 hours.
3. Carefully turn over and press down into any cup.
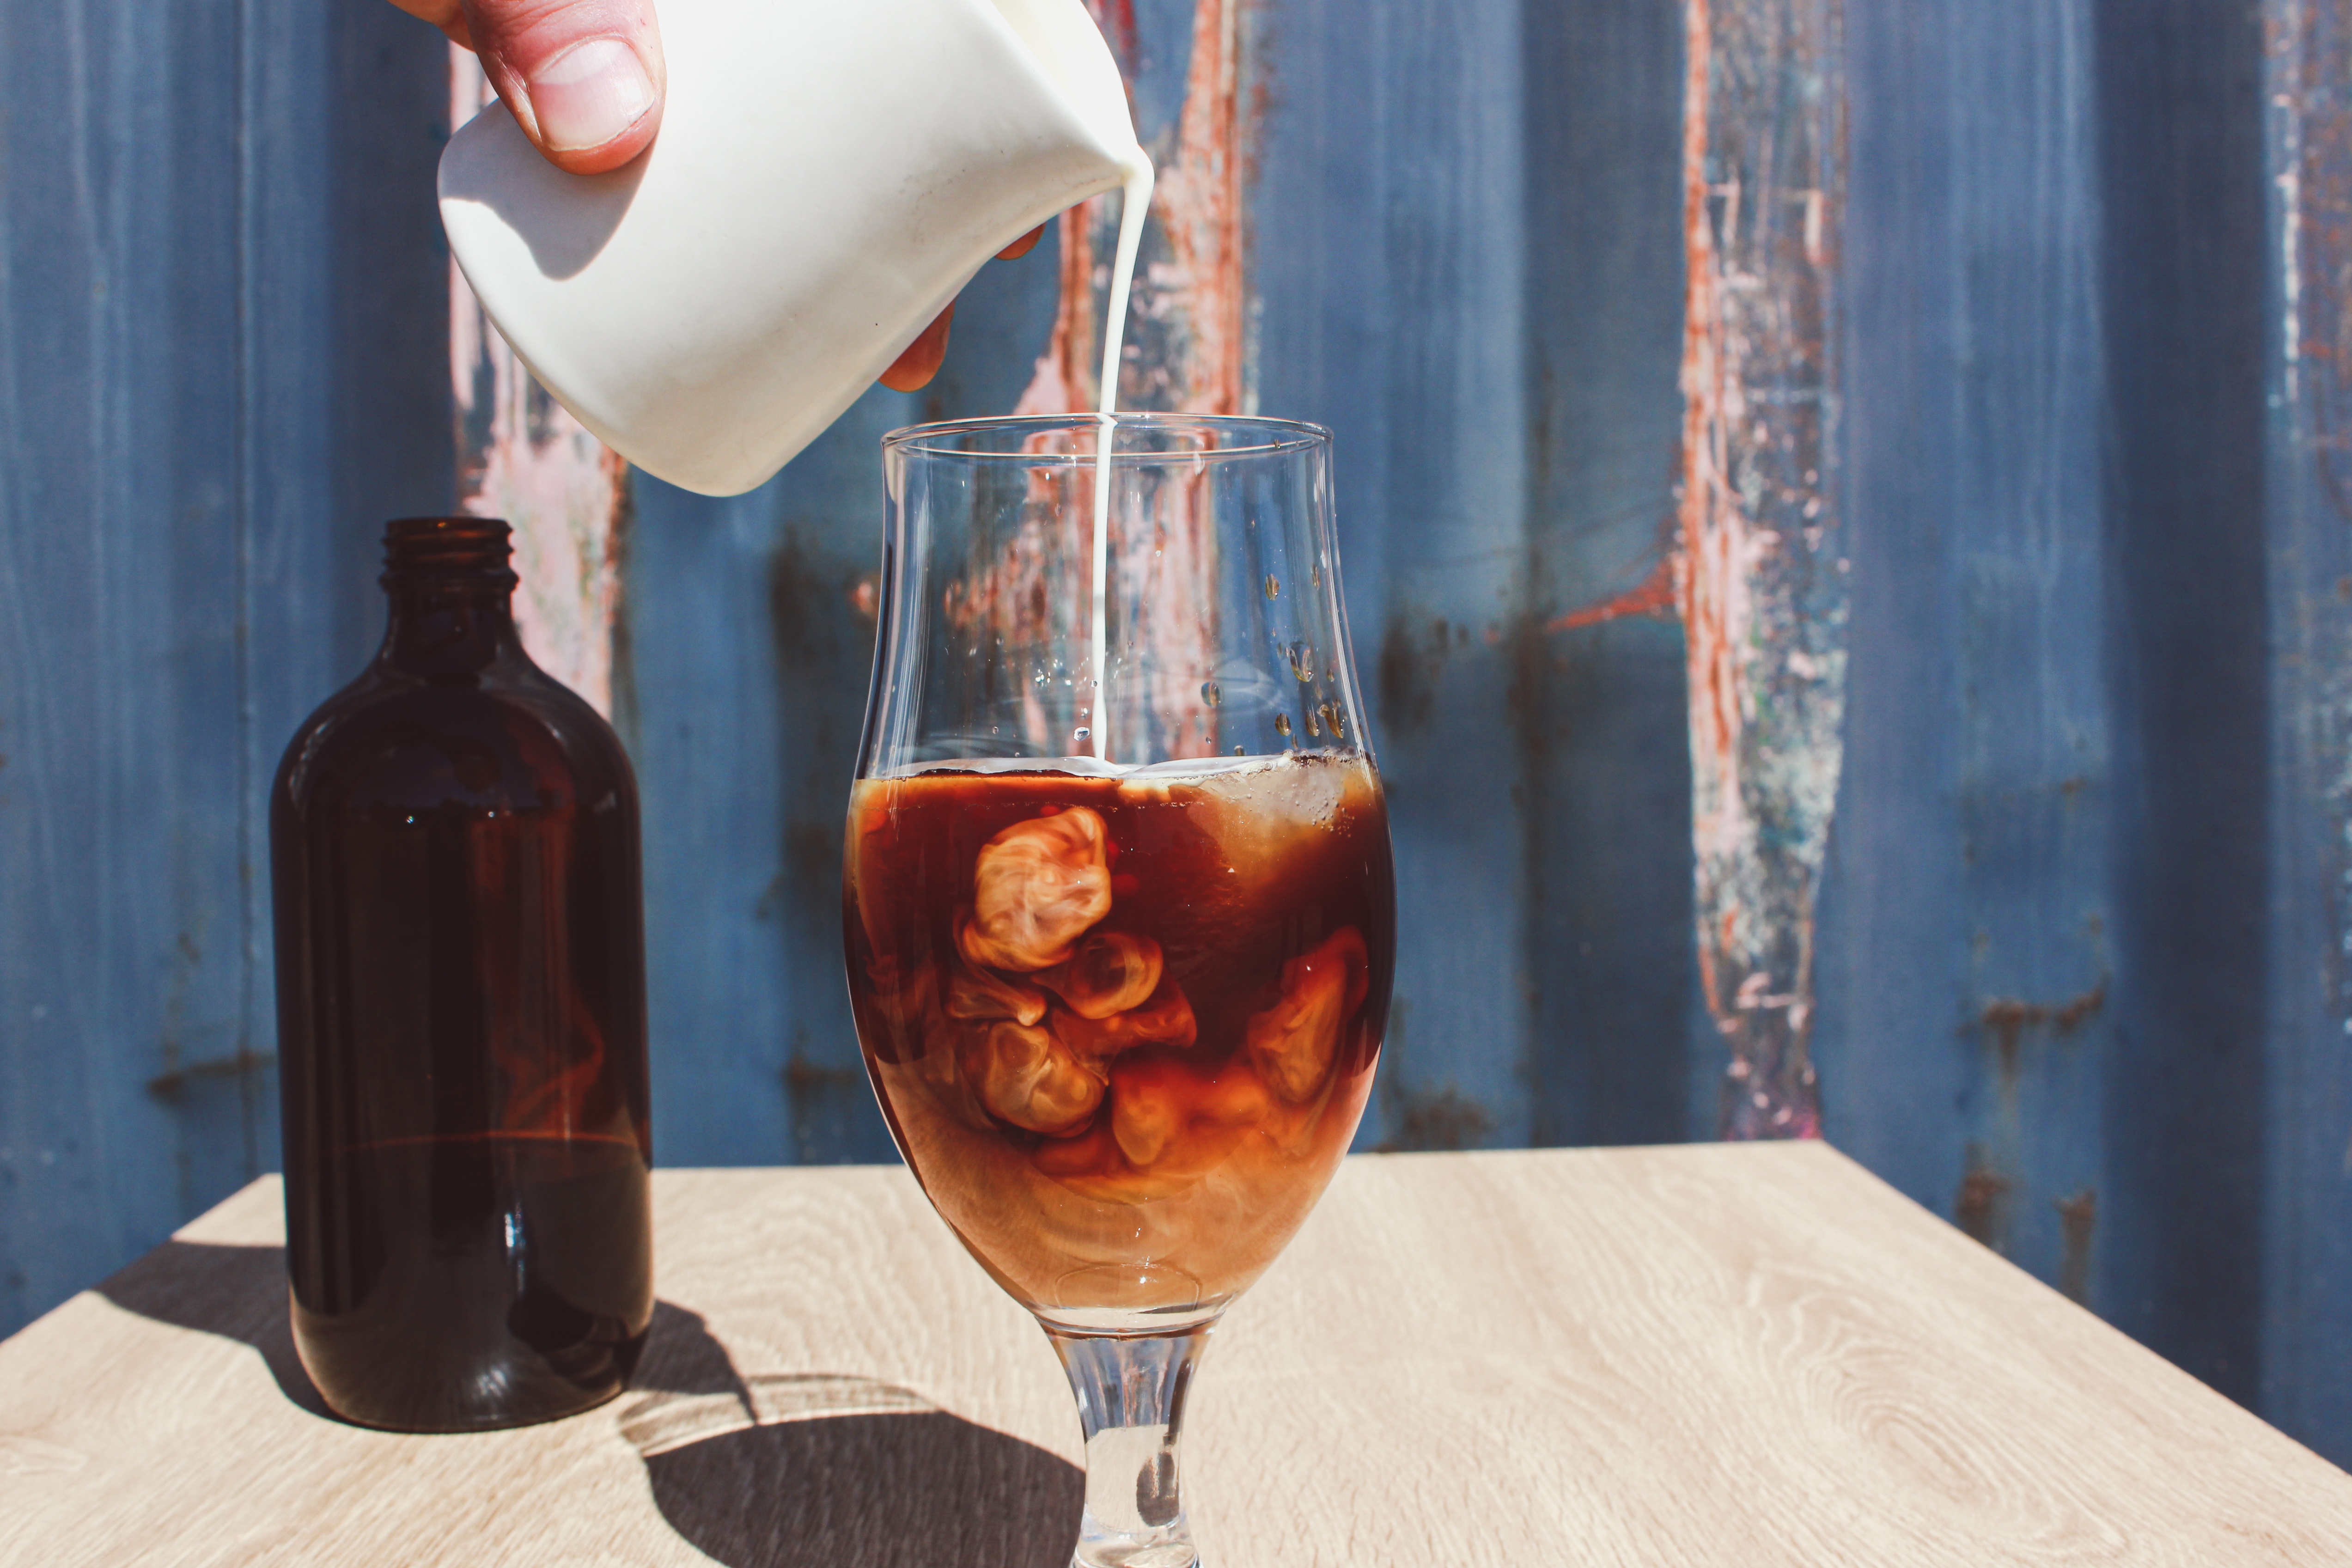
4. Serve with milk, sparkling water or cream.
TROUBLESHOOTING
Not the right strength - If your brew is too strong, just add water
until ideal strength is reached. If your brew is too weak, try using a stronger
ratio of coffee to water on your next brew.
Brew tastes sour or acidic – Sourness in coffee is a sign of
under-extraction. Try adding more time to your brew. Start with +2 hours and
keep adding as required.
Brew tastes bitter – Bitterness, dryness or a powdery texture is a sign
that your brew has over-extracted. Let’s take -2 hours off the brew time. Check
your grind that there aren’t too many fines as they will add bitterness to any
brew.
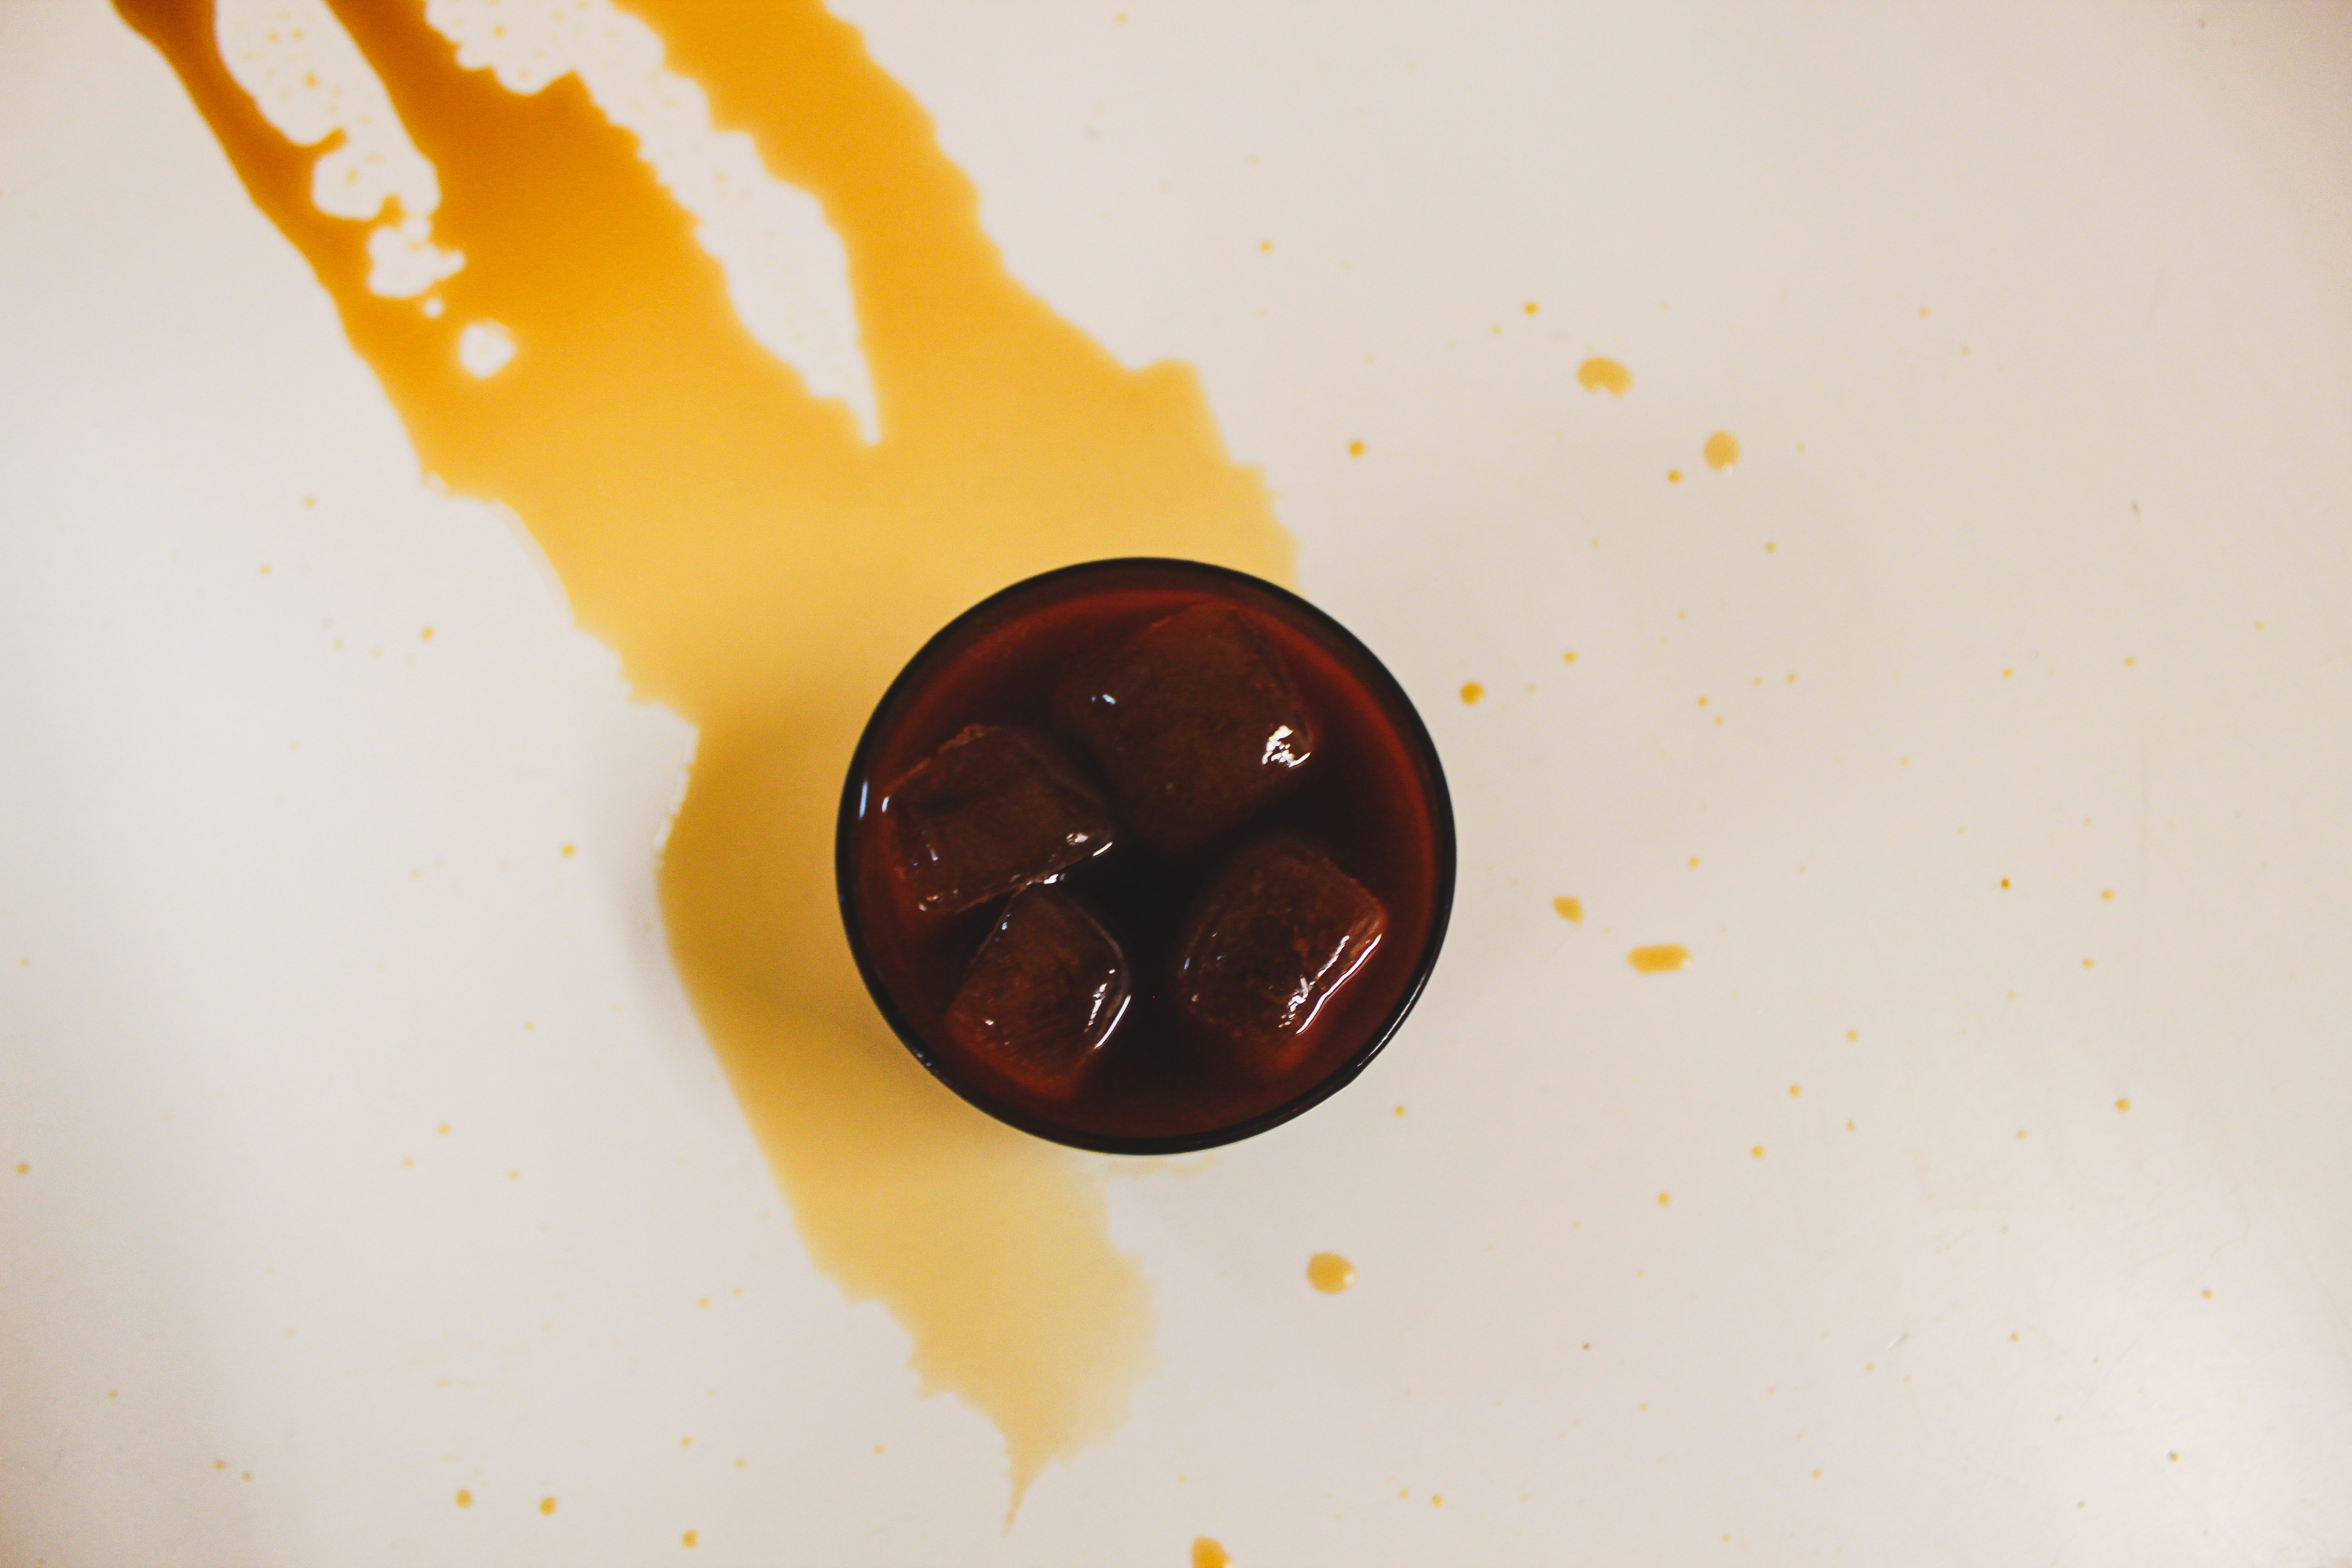
Ice diluting the coffee too much - If you dislike how your cold brew dilutes when your ice melts in the glass, try making a tray of cold brew ice blocks to further chill your brew!
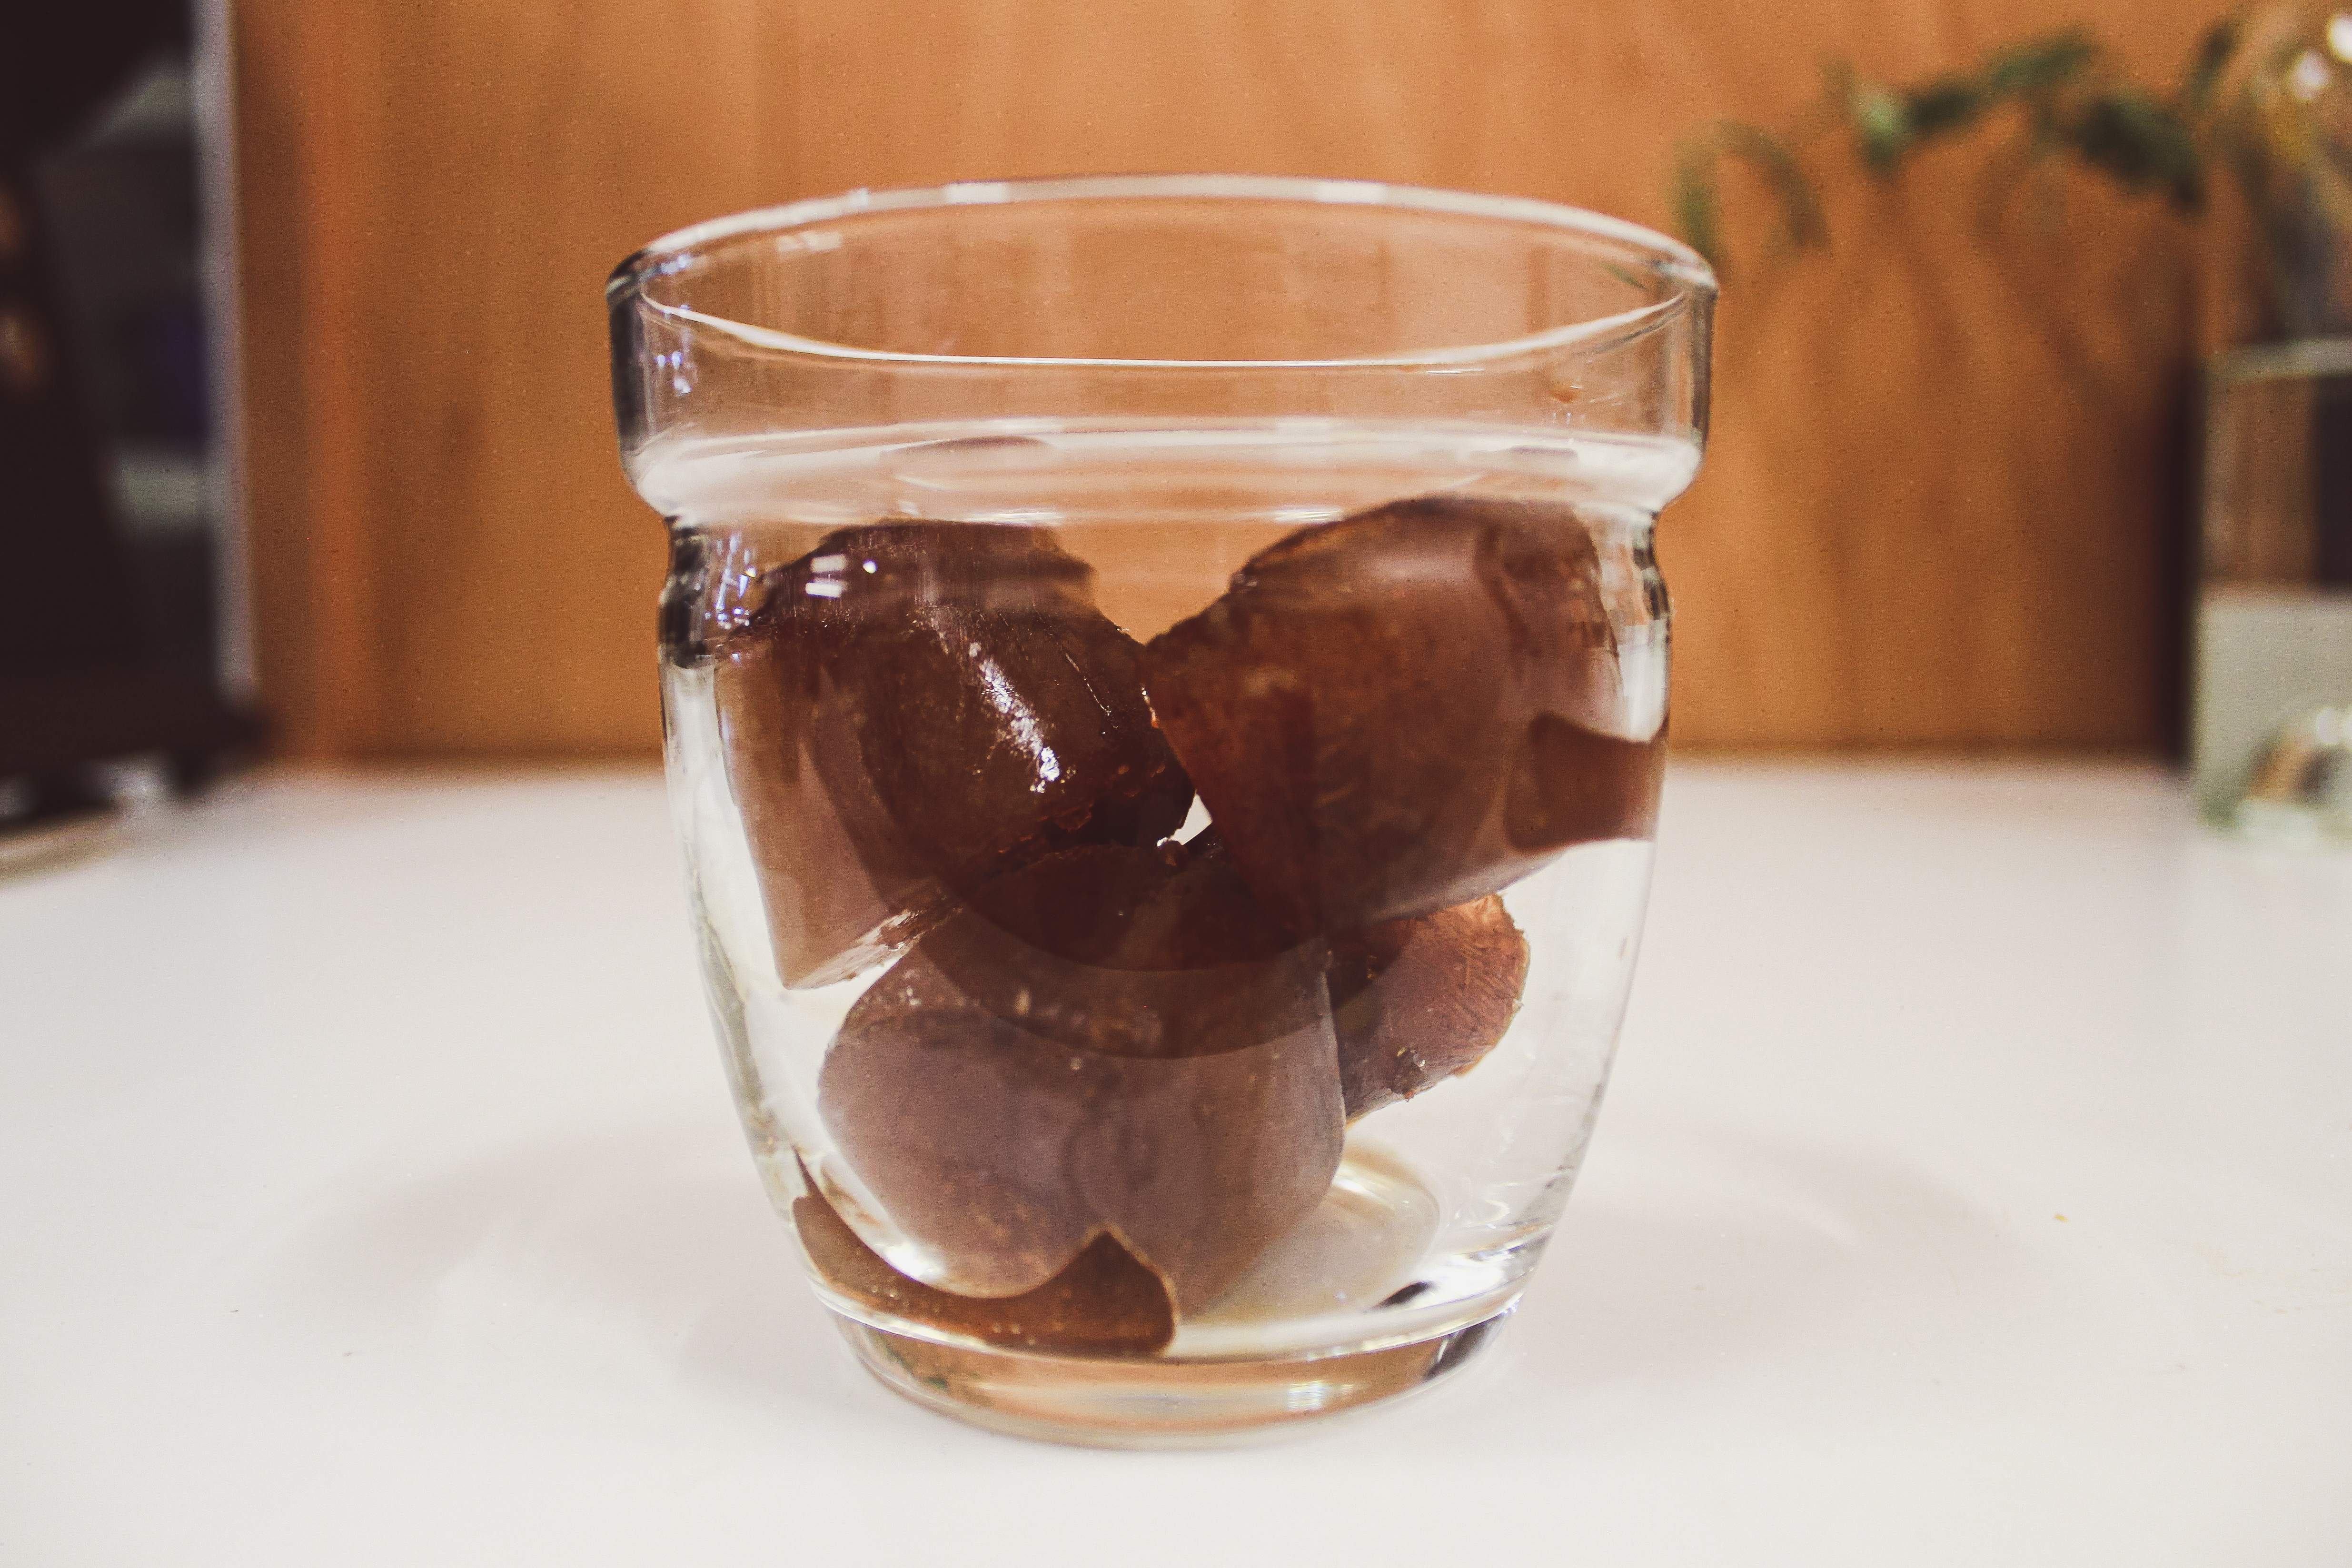
Need that extra ice, but don't want to dilute your coffee? Make some coffee ice cubes and keep the same concentration!
Before you go
Your finished Cold brew can last a while in the fridge, up to a month. Let’s be
honest, it’s not going to last that long!
Now that you're a cold brew champion, feel free to tweak those brew ratios. If you find you need a stronger brew because you're using cream, ice-cream, or just generally want it stronger, try 1:3 or 1:2 coffee to water.
Happy Brewing!
Andy